Tips and Tricks for Golden-Brown Perfection
Chicken is quite possibly the most versatile meat. It’s culturally diverse, pairs well with virtually any sauce, seasoning, or side, and can be prepared in nearly any way. Despite the seemingly endless variation, the ideal final result is, more often than not, crispy and golden-brown on the outside while the inside of the chicken remains juicy and tender. The secret comes down to cooking method, and a few simple tricks that ensure golden-brown perfection every time.
Searing
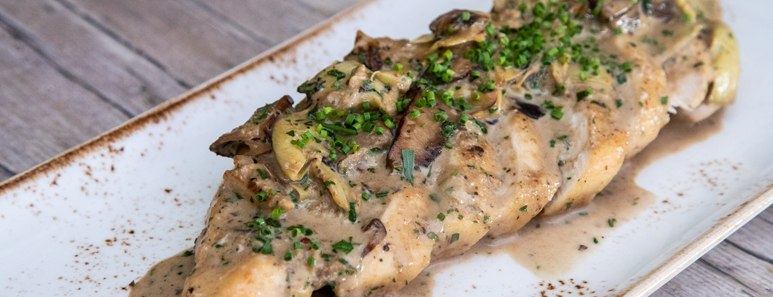
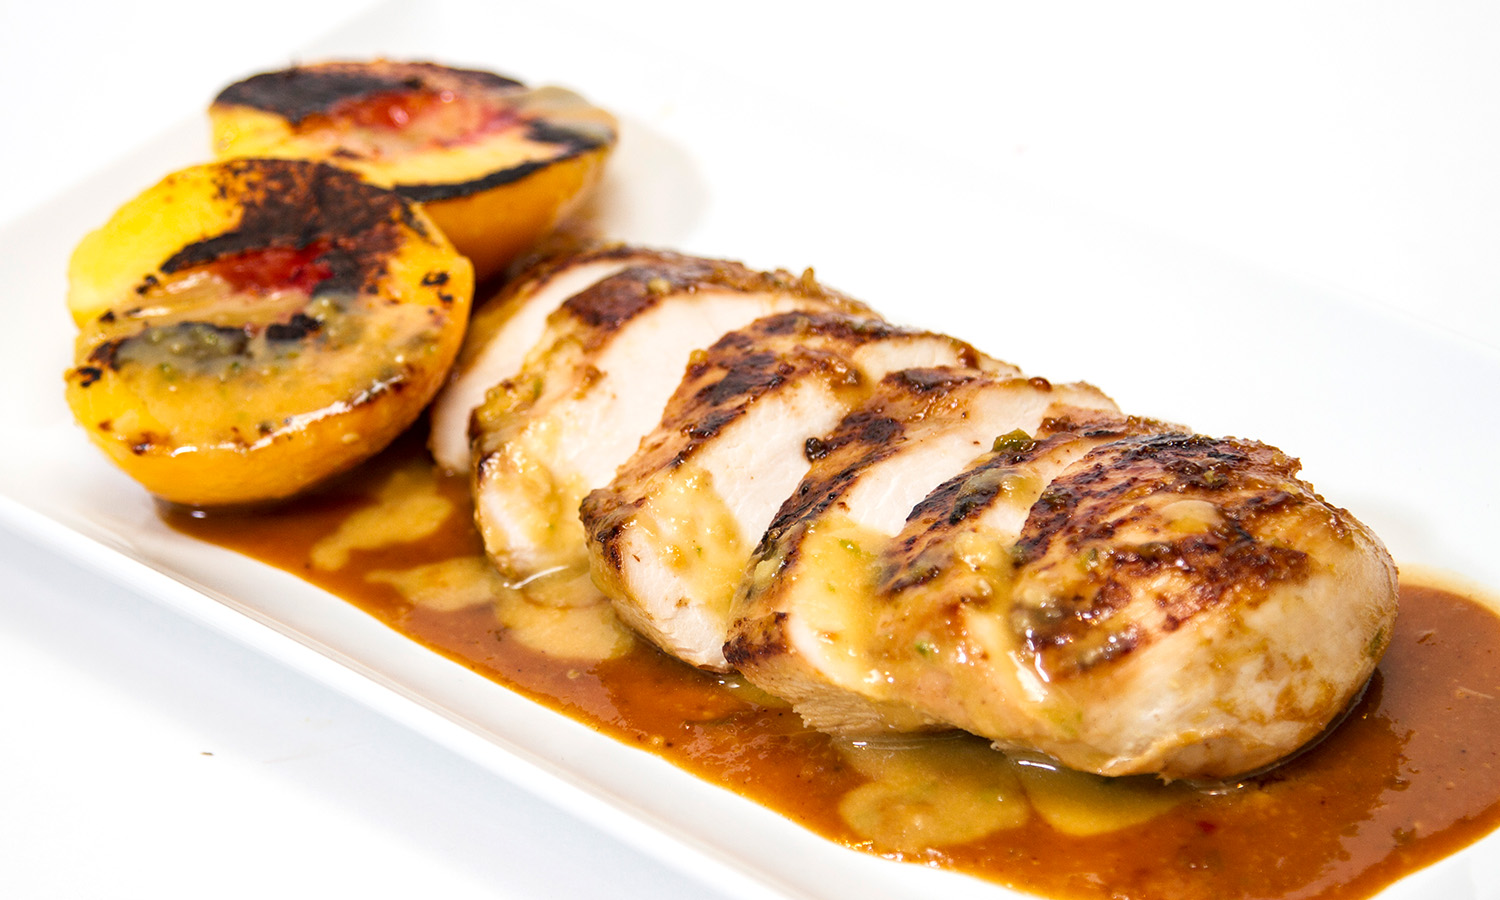
Pan searing briefly exposes foods to high heat to brown their surface, creating a tasty crust on the outside. Searing works best with a heavy-bottomed skillet, such as cast iron, that retains heat well and can go from stove to oven if necessary. To prevent the chicken from sticking to the pan, use a high-heat cooking oil like canola. Searing is great for chicken tenders, boneless chicken breasts, and thighs (boneless, skinless, or otherwise). With skin-on cuts, you’ll want to sear the chicken skin-side down until the skin is golden brown. Before you begin, let the chicken rest at room temperature to remove some of the chill from the refrigerator. This will help it cook more evenly and achieve a better sear. Start with a hot pan over mediumhigh heat and a small amount of cooking oil. Season the chicken and add it to the pan. Let the meat sear for several minutes on one side before flipping. A chicken cutlet is ready to flip when it releases easily from the pan and has a nice, golden-brown sear. It’s finished when the thickest portion of the cut registers 165°F on an instant-read thermometer. If the chicken isn’t cooked through by the time the sear has developed, transfer the skillet to a 350°F oven to finish.
Roasting
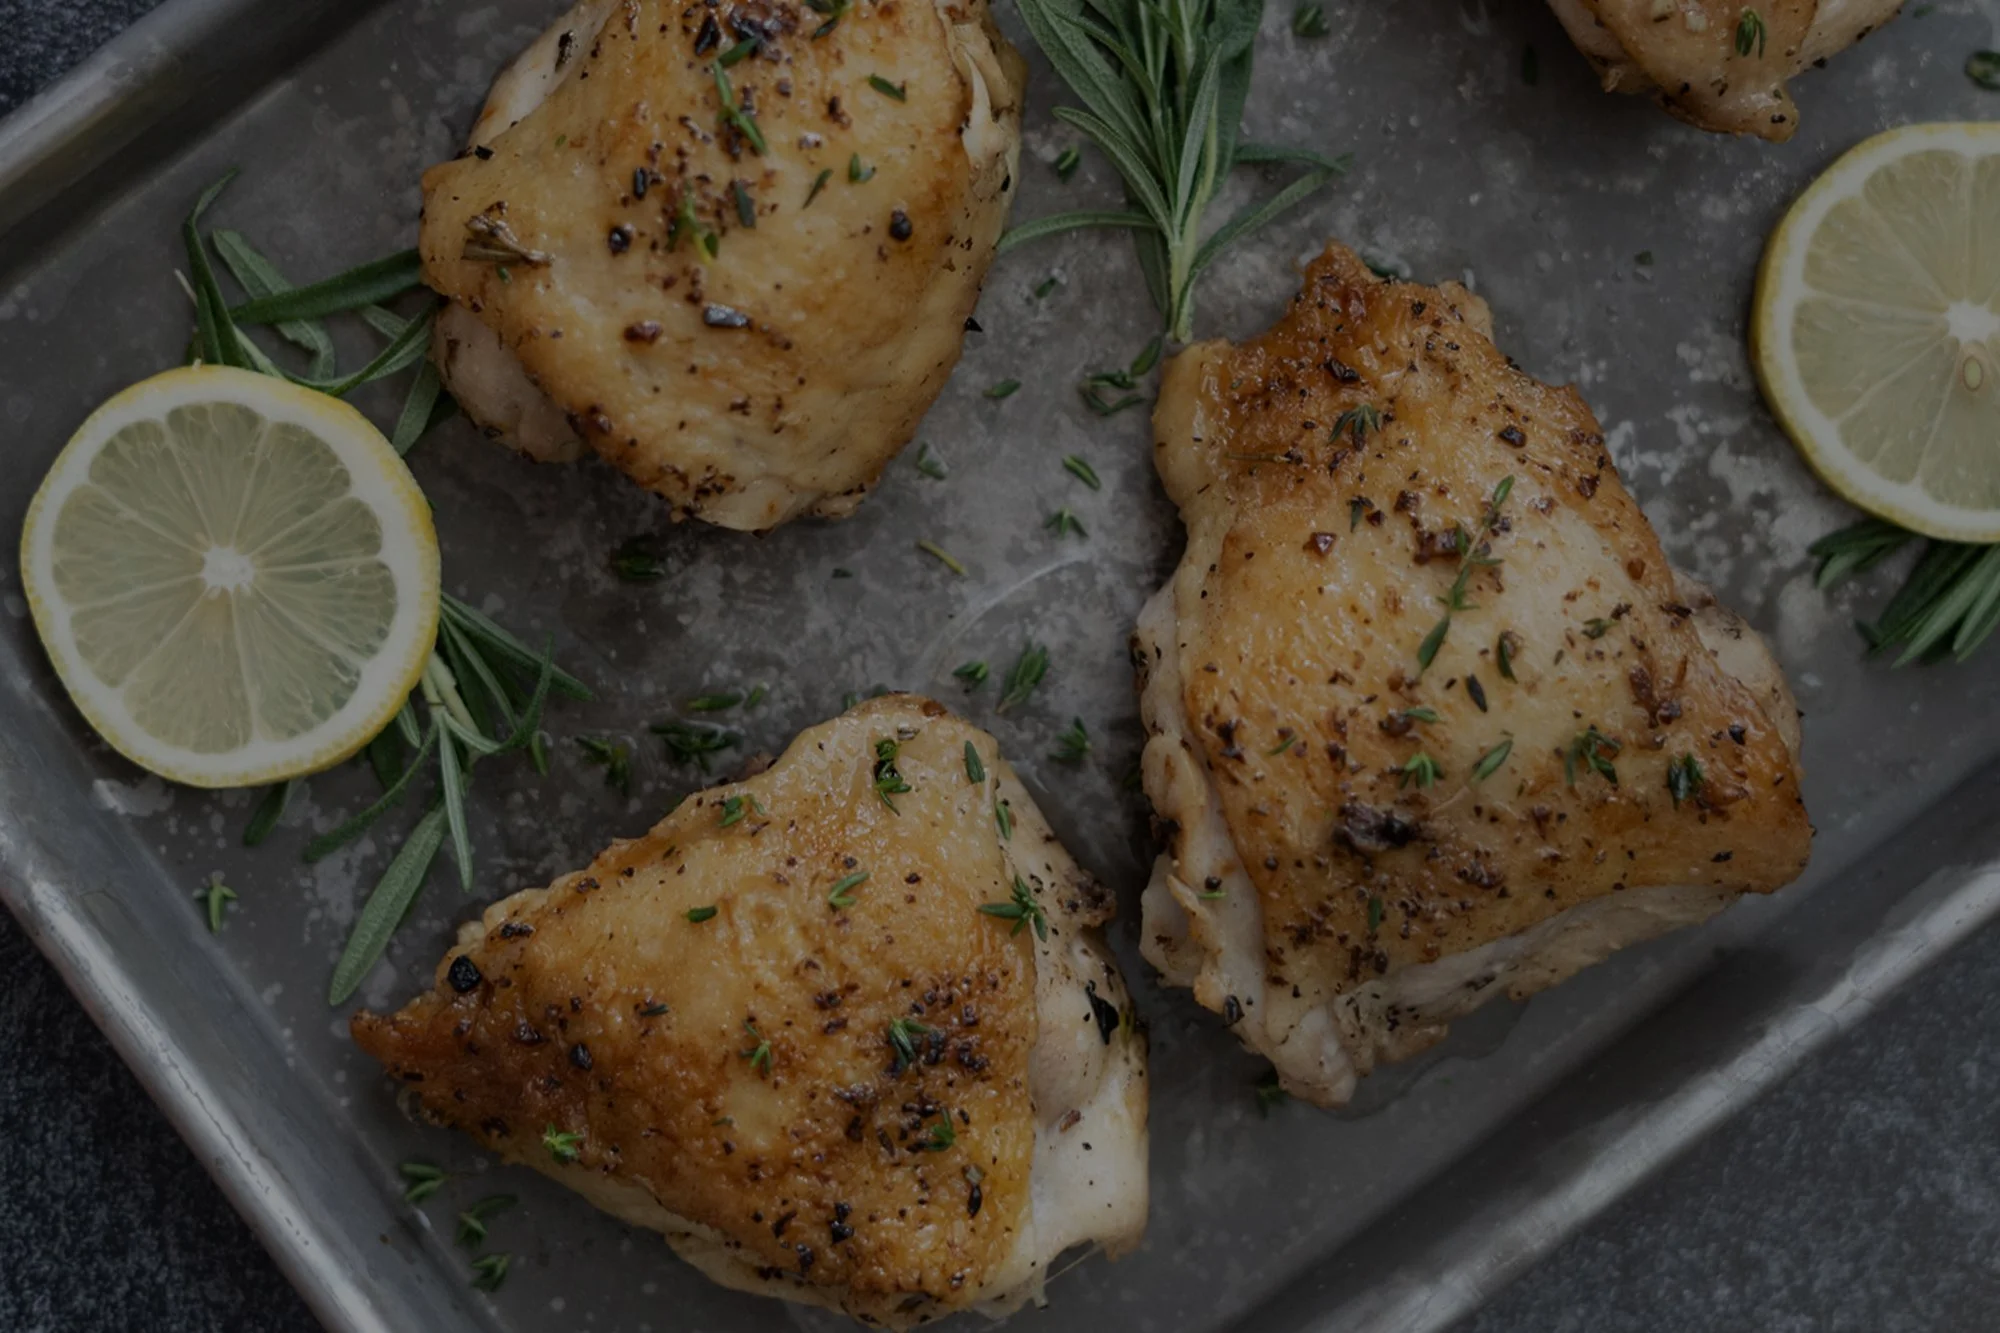
Roasting is often the preferred way to cook a whole chicken, but it’s also a good option for portioned cuts. When roasting, use a low-sided baking sheet or roasting pan, because the open design allows air to circulate around the chicken, yielding the desired crispy skin. When using a baking sheet, cover it with foil and insert a wire rack. For exceptionally crispy skin, consider dry-brining skin-on cuts a day or two in advance (or at least eight hours prior to cooking). Salted meat loses moisture during cooking, producing a crispier skin than meat that’s seasoned right before cooking. To pre-salt, use one half to three quarters of a teaspoon of kosher salt per pound of chicken. Place the chicken on a wire rack on your rimmed baking sheet and refrigerate uncovered.
To achieve a nice sear on the underside of your chicken, transfer your roasting pan to the oven while preheating. Add a little oil to the bottom of the preheated pan to deter sticking, carefully add the seasoned chicken to the pan, and transfer the pan to the top-third of your oven. For classically roasted chicken with a golden-brown skin, preheat your oven to 425°F and keep a close eye on the chicken. If the skin begins to darken too quickly, lower the oven temperature and plan for a longer cooking time. For extra crispy skin, turn your oven’s broiler on during the last few minutes of cooking—but be extra attentive to avoid burning the skin or overcooking the bird. When cooking a whole bird, insert an instant-read thermometer between the breast and leg, into the thickest portion of the thigh. The chicken is done roasting when the thermometer reads 165°F.
Grilling
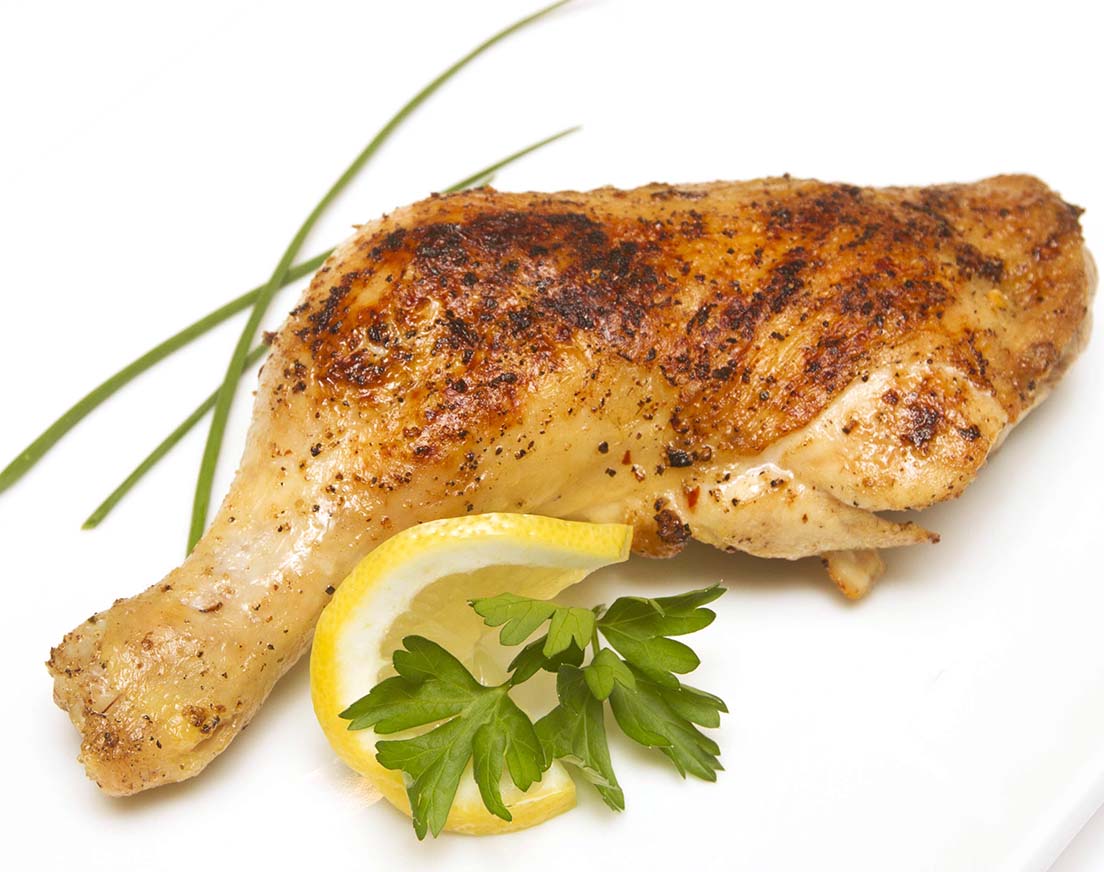
Always start by giving your grill gates a quick cleaning before turning on the gas grill or igniting the charcoals. Then, preheat the grill to high heat for at least 10 minutes and give the grates another brush to remove any debris. From here, temperature control is essential. With larger pieces that require longer grilling times (like a whole chicken and dark meats, such as drumsticks and thighs), use two heat zones: a direct heat zone for searing and quick-cooking, and an indirect heat zone for slower, more even cooking. If a cut starts cooking too quickly, simply transfer it to an indirect heat zone. If you’re grilling a butterflied chicken or bone-in, skin-on leg quarters, thighs, or drumsticks, start by searing the chicken skin-side down over the direct heat zone (sear drumsticks on all sides). Then, transfer the cut, bone-side down to the indirect heat zone to finish cooking to 165°F. Boneless, skinless breasts, tenderloins, and thighs, which typically call for shorter grilling times, will spend much, if not their whole grilling time, over direct heat (about 400°F). Leave basting or sauces until the end of the cooking process, as the sugar content in most sauces can cause the chicken to burn.
Don’t Crowd the Cooking Surface
Whether you’re searing, roasting, or grilling chicken, you’ll want to take care when arranging the cuts on the cooking surface. Tightly packing the pan or grill grate can cause food to steam, rather than sear. A single uncrowded layer, by comparison, allows for steam to evaporate and is the best way to produce the characteristic golden-brown, crispy exterior. If there’s not enough room in the pan, cook in multiple batches.
Taste the Air-Chilled Difference
Pure air chilled Smart Chicken® offers fresh, undiluted flavor that cooks up more consistently and remains tender and juicy through the cooking process. What’s more, the skin always crisps up goldenbrown, and there’s never a soggy mess in the bottom of your pan. That’s because Smart Chicken is always USDA process verified 100% pure air chilled with no water added.

